Stillio lets you sync all screenshots to a Box.com account by using Zapier.
⚠️ To start, follow all steps in the Sync to Zapier doc first. Once you have set up your webhook trigger, you can continue to create an action in Zapier.
Add Action
Search and select the "Box" app. In the next step, you need to Select a Box Action.

Select "Upload File" and Save + Continue.
Select Box account
In the next step, you need to connect your Box account and grant access to Zapier to use this account. After linking your account, click "Test" to verify the account has been connected successfully:

Set File Upload Template
Now your Trigger is set and your Box account is added to your Zapier account, you tell Zapier what to do when a new screenshot is created:

The two required fields are:
- Folder - Select a folder in your Box account. You can only select (and not create) a folder here, so you might want to create a new folder in Box first, e.g. "My Stillio Screenshots".
- File - This is where the "payload" data from the Trigger comes into action. Select the "Insert a field" icon at the end of the row which shows the data from Step 1. Select the row
As:object Schema:content URLas this refers to the original location where your screenshot is stored within the Stillio cloud. (Note: Zapier also supports technical advanced options for custom filenames.)
Click "Continue".
Send a test to Box
In the next step, you let Zapier send a test file to your Box account. Click "Send test to Box".
Go to your Box account and verify that the screenshot has been saved to the folder you specified:

Activate Zap
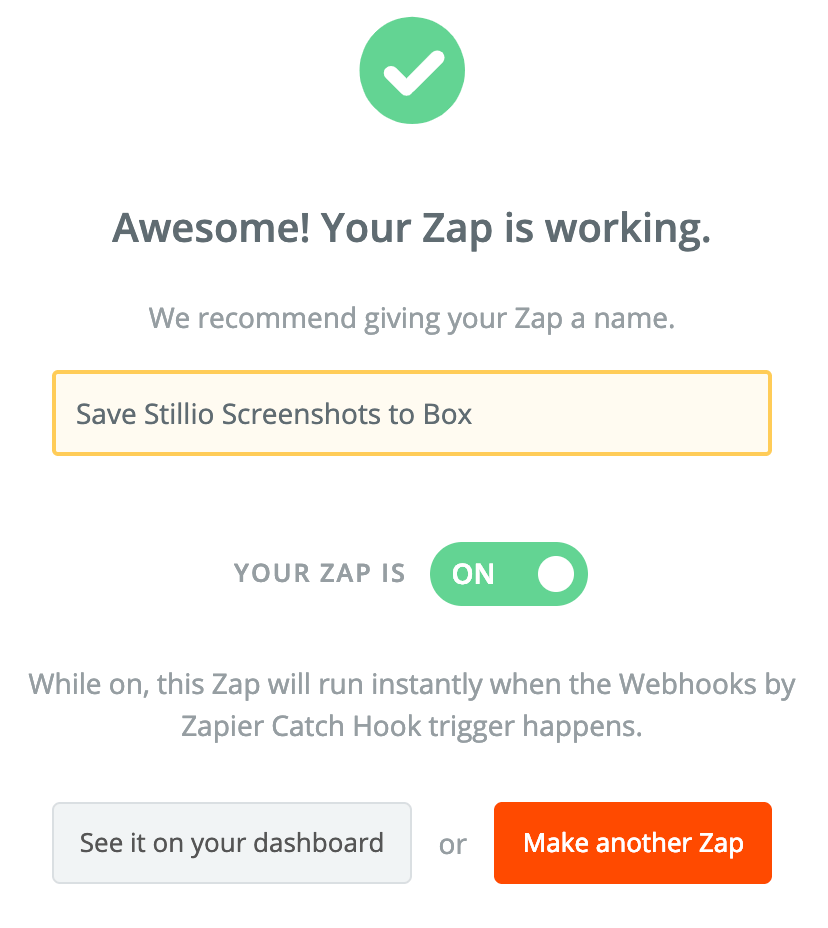
In the next step, name your Zap and turn it on:

🎉 Congratulations! Your Stillio screenshots will now be saved to your Box account.
